World of Level Design™
Tutorials to Becoming the Best Level Designer and Game Environment Artist (since 2008)
Maya: Material Basics and How to Assign Base Color Albedo Texture to Align UVs for Precise Placement
Category: Maya
July 07, 2025
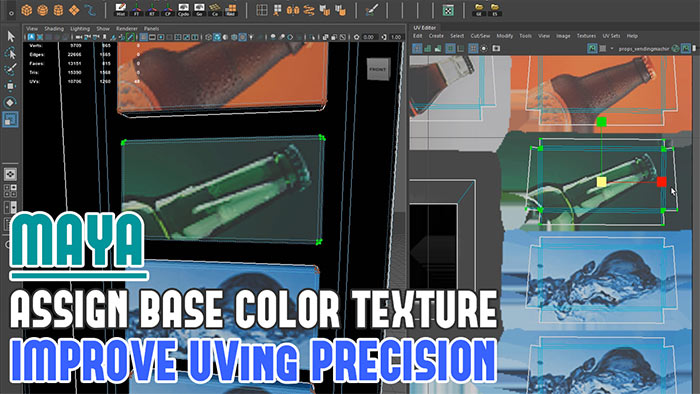
In this tutorial, you'll learn Maya material basics and how to associate a base color texture within a material to help you improve UVing environment assets and props.
This process is important for aligning UVs accurately for modular assets, uniquely textured props or assets using trim sheets.
By visualizing textures in real-time, you can make precise UV adjustments, making sure your textures align perfectly with your meshes.
In this tutorial we'll be focusing on creating a basic material for applying a Base Color (albedo) texture only and not for full rendering with roughness or normal map. This is ideal for previewing Base Color textures in Maya before exporting assets to a game engine.
Let's dive in!
Video Tutorial
Maya Material Basics
When you create a new object in Maya, such as a cube, it is automatically assigned a default material called Lambert1.
To manage materials, you'll use Hypershade, Maya's material editor by going to Window > Rendering Editors > Hypershade or in the top toolbar:
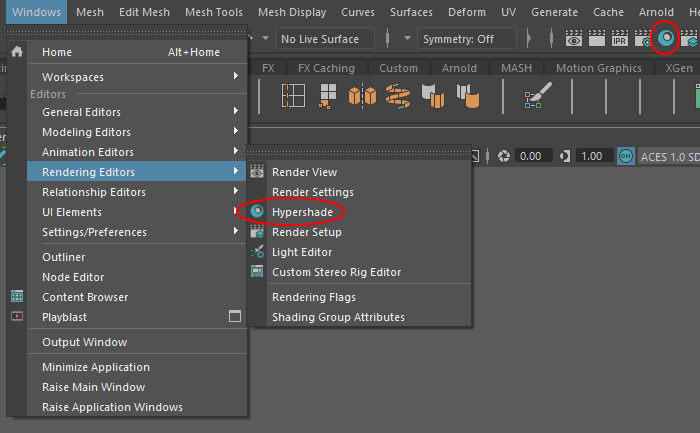
In the Hypershade, Lambert1 will be created already by default.
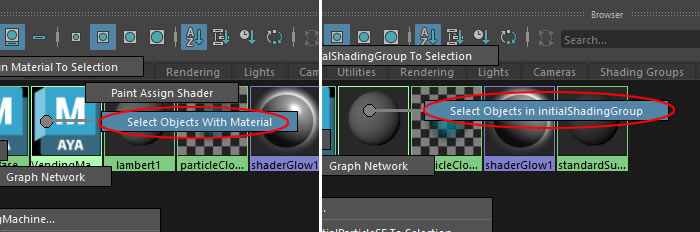
You can check which objects use a specific material by Right-Click on any material and select Select Objects in Initial Shading Group or Select Objects with Material:
Creating a New Material
In the Hypershade, select Lambert to create a new Lambert material. You can also choose Blinn, Phong or PhongE as other often used Material types:

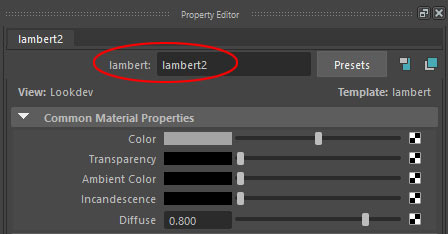
Select the new material to access its Property Editor and rename it:
Assigning a Material to an Object
To apply the material to a mesh, select the mesh in Perspective Viewport then Right-Click hold and choose Assign Existing Material > Name of the Material:
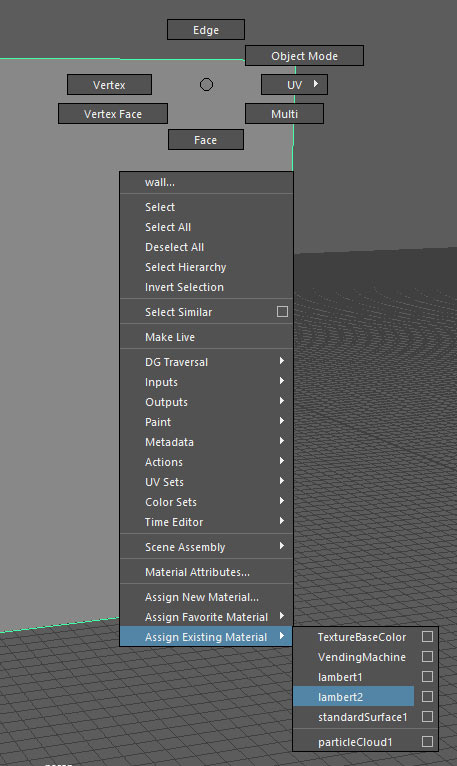
Alternatively: Middle-Mouse drag the Material from Hypershade onto the object or Right-Click the material in Hypershade and select Assign Material to Selection.
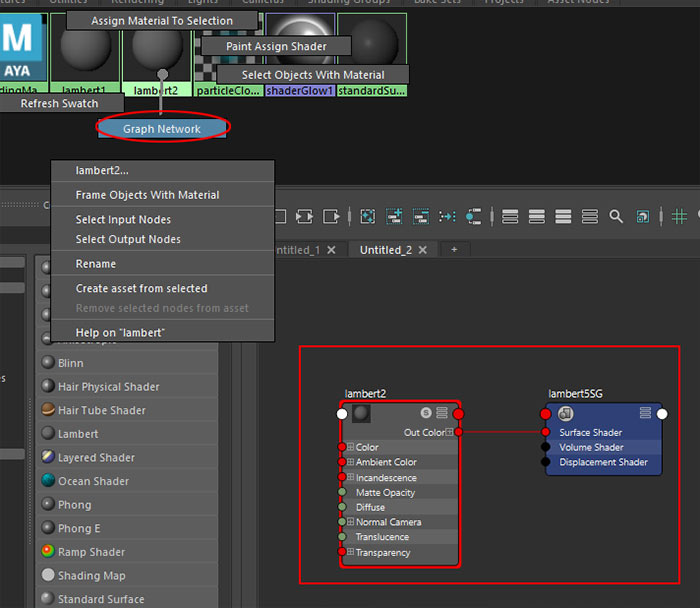
For advanced users: you can view the material's node network: Right-Click on the Material in Hypershade and select Graph Network to see connected nodes. This is useful for when you need to work with the Material and its various nodes to make adjustments.
Applying a Base Albedo Color Texture
To add Base Color texture to your Material follow these steps.
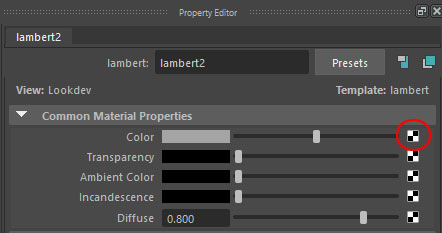
Step 1: in Hypershade select your Material. Go to Property Editor, locate the Color attribute and click the checkerboard icon next to it:
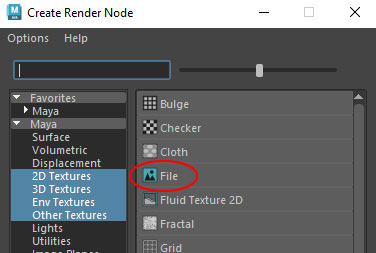
Step 2: in the Create Render Node window, select File:
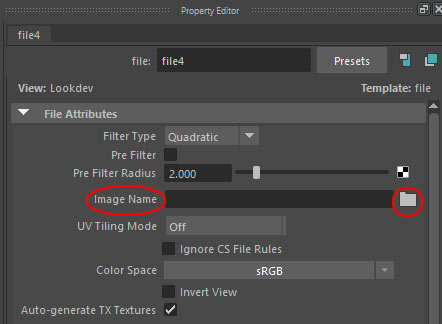
Step 3: In the new file node's Property Editor, click the folder icon next to Image Name:
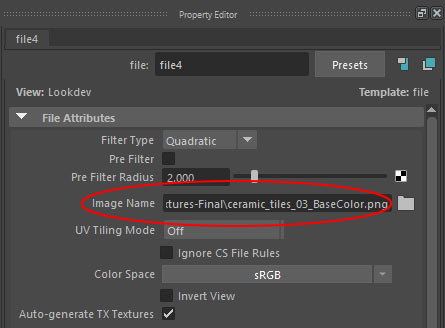
Step 4: navigate to your Base Color texture file you want to use and click Open to associate the texture with the material:
Viewing the Texture
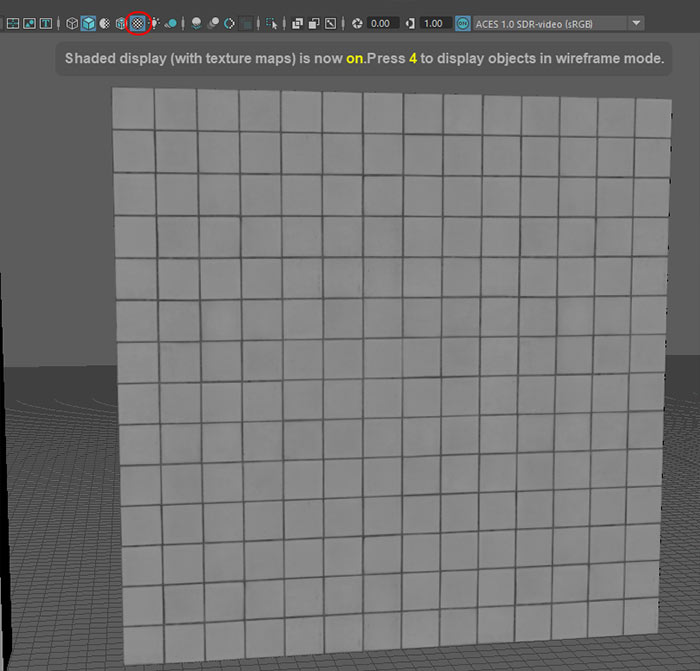
In Perspective Viewport: press 6 to enable Shaded Display with Texture Maps:
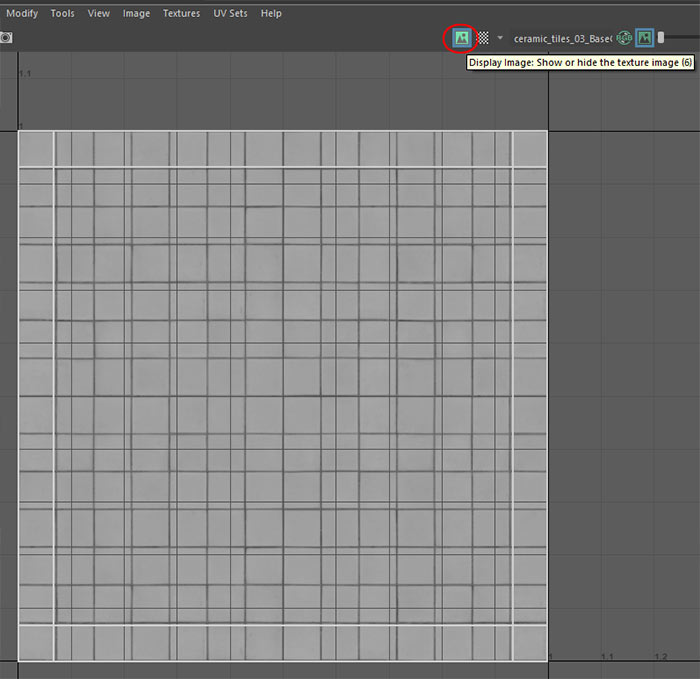
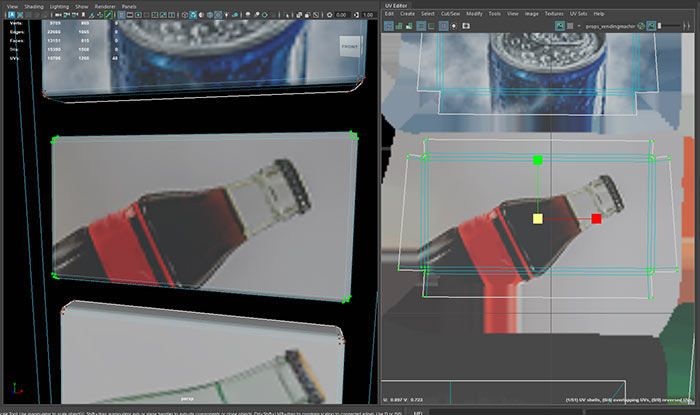
In UV Editor: press 6 to display the texture in the 0-1 UV space. Alternatively, click the Toggle Image Display icon in the UV Editor toolbar:
Now begin to work with your UVs (edges, faces, shells or UVs) to adjust their position, aligning them with specific texture details and seeing the update in perspective viewport in real-time.
Maya Foundation Tutorial Course
For a deeper dive into modeling and UV mapping in Maya, check out the complete "Maya Foundation" tutorial course, a comprehensive resource for environment design, modeling and UV techniques. Start mastering Maya today to elevate your environment asset creation.

SUBSCRIBE & GET FREE, UPDATED PDF GUIDE
Subscribe to receive FREE & Updated "Maya 3D Primer" PDF Guide (200+ pages).

See more about this Free PDF Guides and what you are subscribing to.
TOP 7 TUTORIAL COURSES FOR 2026
 Modular Environment Design Masterclass Tutorial Course
 Maya Foundation: Home-Study Course - Model and UV Environments
 Substance 3D Painter Essentials - Master Texturing
 UE5: Fundamentals Vol.1 - Create with Unreal Engine 5
 UE5: Retro Office Project - Create Beautiful Interior Env
 UE5: Master Material Creation - Create Master Materials in UE5
 Preproduction Blueprint: Plan Environments and Level Designs
TUTORIAL CATEGORIES
MAYA FOUNDATION COURSE

SUBSTANCE PAINTER ESSENTIALS

MODULAR ENVIRONMENTS MASTERCLASS

UE5: RETRO OFFICE PROJECT

LEARN THE PREPRODUCTION PROCESS

ABOUT WoLD & ALEXG

My name is AlexG. I am self-taught level designer, game environment artist and the creator of World of Level Design.com. I've learned everything I know from personal experimentation and decades of being around various online communities of fellow environment artist and level designers. On World of Level Design you will find tutorials to make you become the best level designer and game environment artist.
Home Terms of Use/Trademarks/Disclaimers Privacy Policy Donate About Contact
All content on this website is copyrighted ©2008-2024 World of Level Design LLC. All rights reserved.
Duplication and distribution is illegal and strictly prohibited.
World of Level Design LLC is an independent company. World of Level Design website, its tutorials and products are not endorsed, sponsored or approved by any mentioned companies on this website in any way. All content is based on my own personal experimentation, experience and opinion. World of Level Design™ and 11 Day Level Design™ are trademarks of AlexG.
Template powered by w3.css