World of Level Design™
Tutorials to Becoming the Best Level Designer and Game Environment Artist (since 2008)

LATEST TUTORIALS
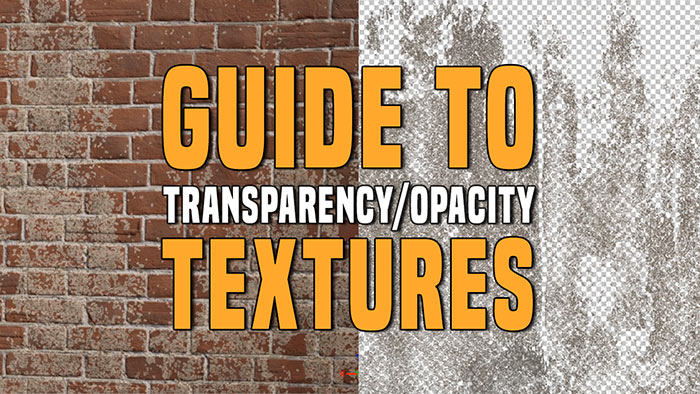
Ultimate Guide to Alpha Channels for Opacity/Transparency Textures - TGAs vs PNGs (w/UE5 Examples)
Category: Texturing, UE5
February 19, 2026
You will often need to create textures for environments that you can see through or textures that give you on/off visibility.
Some examples of this include chain link fences, metal grates, decals like graffiti, logos, dirt, leaks and many more.
These textures are done through the creation of Alpha Channel using black and white values that give you this visibility control.
Texturing: How to Pack Multiple Black and White Textures into Single RGB Texture with Photoshop (w/UE5 Example)
Category: Texturing, UE5
February 02, 2026
Texture optimization is key in game development for improving performance.
One of these methods is to pack separate black-and-white textures such as texture masks, roughness, metallic or ambient occlusion maps into the Red, Green and Blue channels of one texture file.
In this post I will show you how to do this using Photoshop.
Substance Painter: Create Perfect Tiling Dirt/Grunge/Leak Masks for Texture Blending for Game Art
Category: Substance Painter
January 28, 2026
Texture masks are essential for blending multiple textures seamlessly or adding realistic wear effects like dirt, grunge and leaks.
These are grayscale textures (where white reveals and black conceals) enable precise control over texture blending.
In this guide I will walk you through 3 options to creating perfect dirt, leak, grunge texture masks using Substance Painter.
Creating Procedural Texture Masks with Photoshop's Clouds Filter (w/UE5 Examples)
Category: Texturing, UE5
January 26, 2026
Procedural masks offer a fast way to blend textures, create natural transitions or add dirt/weathering.
One old school texturing method is to use Photoshop and the infamous Clouds filter to generate quick, tiling black-and-white masks. These masks will work in any game engine and of course UE5 as that's what I'll use as an example.
In this post I'll walk you through creating basic masks and then improving upon them entirely in Photoshop. Then I'll also show you how to export them properly and use them in UE5 to blend textures.
UE5: Material Editor Essentials - Most Commonly Used Setups and Adjustments You Need to Know
Category: UE5
January 15, 2025
UE5: Adjust/Change Different Parts of Texture Using Masks, Lerps and Multiply in Material Editor
Category: UE5
December 17, 2025
In this tutorial, you'll learn how to set up a way to adjust different parts of a texture independently, without affecting the rest of the surface.
As an example: a brick wall where you'll need to adjust the brick and the grout separately but this can be done with any surface type.
This method relies on texture masks, Multiply nodes and Linear Interpolate (Lerp) nodes.
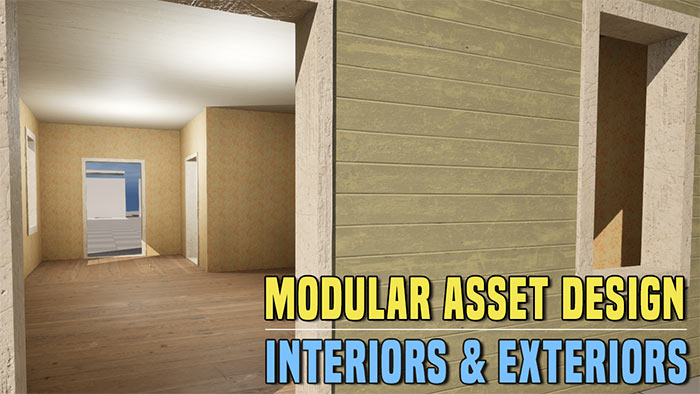
Modular Asset Design for Interiors & Exteriors of a Building, House or Room at Same Time
Category: Maya, Environment Art, UE5
December 15, 2025
In this tutorial I will show how to create modular assets that can contain both interior and exterior appearances at the same time. Perfect for buildings, houses or rooms requiring seamless transitions from outside to inside and vice versa.
I'll cover 2 approaches:
- Single-plane geometry (invisible on the back side).
- Solid-box geometry (visible from all sides).
Both methods will allow for specific interior and exterior looks. You can use one method or the other or you can combine both.
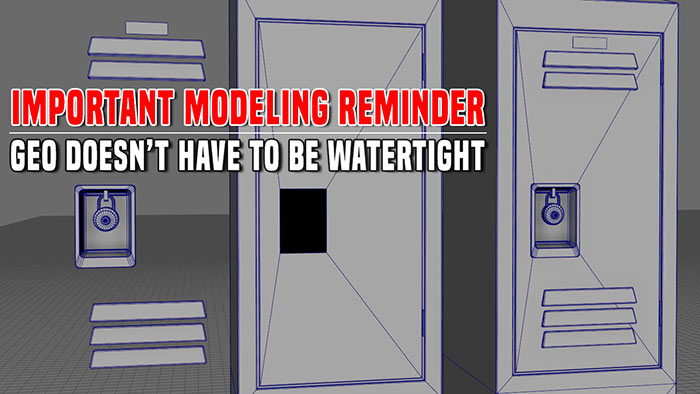
Important Modeling Reminder: You Don't Need Watertight Geometry for All Environment Assets
Category: Environment Art, Maya
November 14, 2025
One of the most common misconceptions in 3D environment modeling is that every prop and asset has to be a single, perfectly fused, watertight mesh from the very beginning.
In reality, for static environment assets you can and usually should build your environment meshes from multiple separate pieces of geometry then combine them into a single object at the end.
This approach will dramatically speeds up your modeling process, make things easier to build while producing often identical visual results in the end.
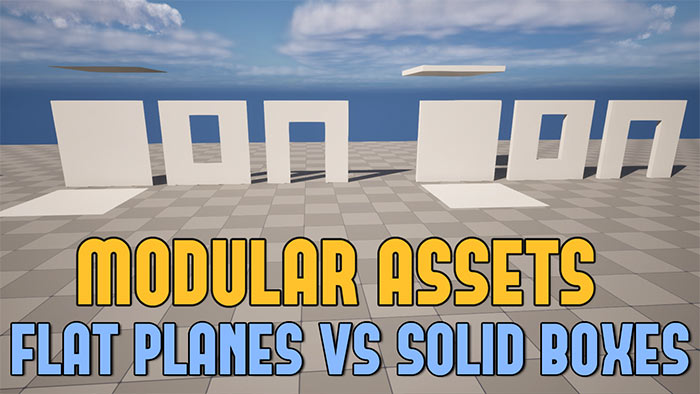
Flat Planes vs. Solid Boxes: Choosing the Right Modular Geometry for Environment Design and for UE5
Category: Maya, Environment Art, UE5
November 03, 2025
When creating modular environment assets for UE5, you'll face an important decision: Should you use flat plane geometry or solid box geometry?
Each approach has advantages and limitations, especially when working with UE5's features like Nanite and Lumen.
In this post and video I'll break down the differences between flat planes and solid boxes. Their pros and cons and why solid box geometry is often the better choice for modular assets.
While the focus is on UE5, these principles can apply to other game engines as well.
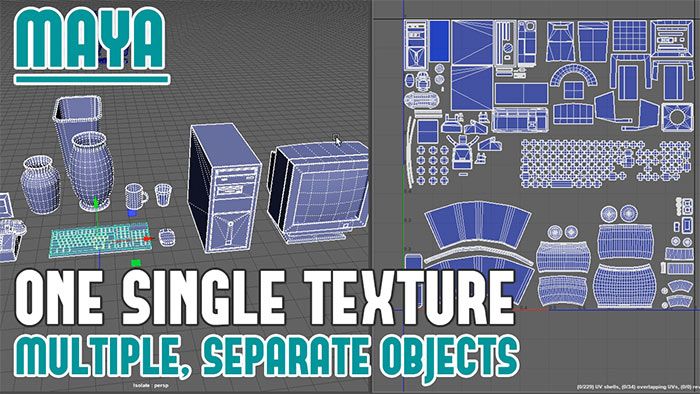
Maya: How to Share One Single Texture Across Multiple, Separate Objects
Category: Maya
October 24, 2025
One powerful technique to help you minimize the amount of textures and materials you use is to share a single texture across multiple separate objects.
This approach minimizes the number of textures and materials used, reducing memory usage.
In this post and video breakdown I'll show you how to implement this technique using Maya, UE5 and Substance Painter.
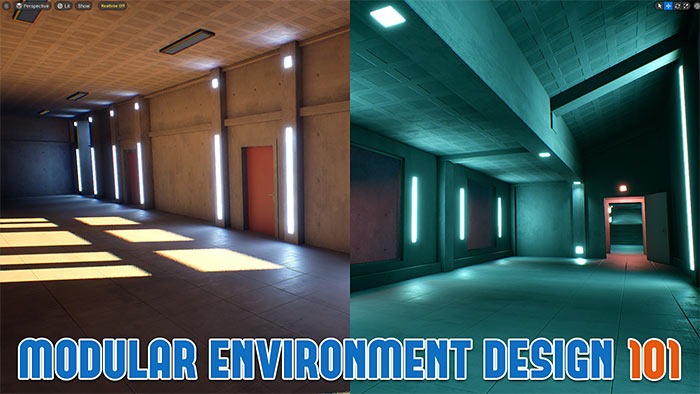
Modular Environment Design 101: Ultimate Guide to Modular Asset Creation
Category: Maya, Environment Art, UE5
October 21, 2025
Modular environment design is the key to creating visually consistent game worlds using minimal set of assets in the shortest amount of time.
There are hundreds of games (new and old) that have used modular environment design to create its worlds. Dishonored series, Skyrim, Fallout, new Doom, UT2k4, Assassin's Creed Series, Dead space series and the list just goes on.
So modular design is something that has been here, is currently here and will continue to be the driving force for future game environment creation.
In this post I want to break down the essentials of modular environment design, share my workflow and give you the pipeline you can start using.
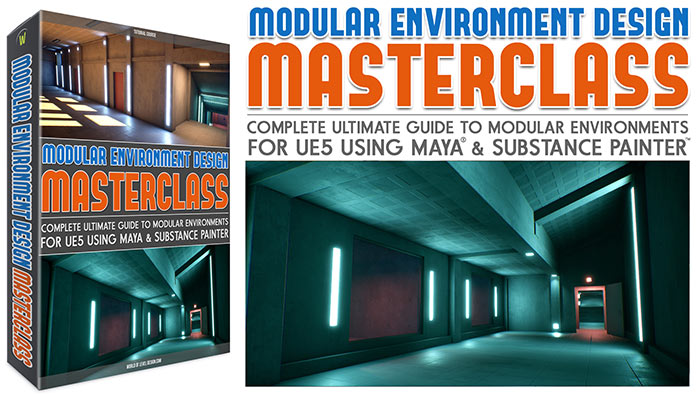
Now Out - "Modular Environment Design Masterclass" Tutorial Course
Category: News/Updates, UE5
October 20, 2025
UE5: How to Blend or Combine 2 Normal Map Textures Together Using the Material Editor
Category: UE5
July 29, 2025
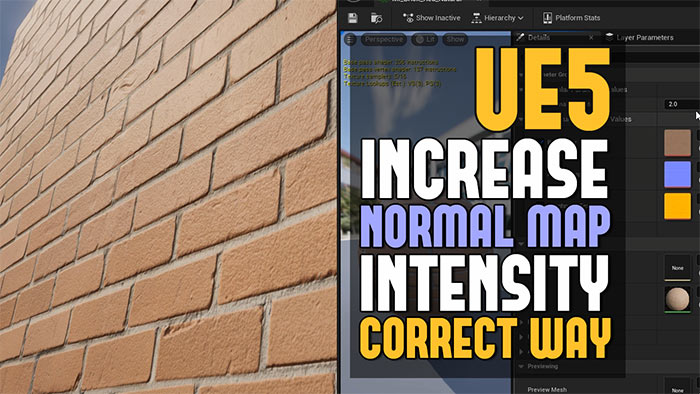
UE5: How to Adjust Normal Map Intensity the Correct Way - 2 Effective Methods
Category: UE5
July 29, 2025
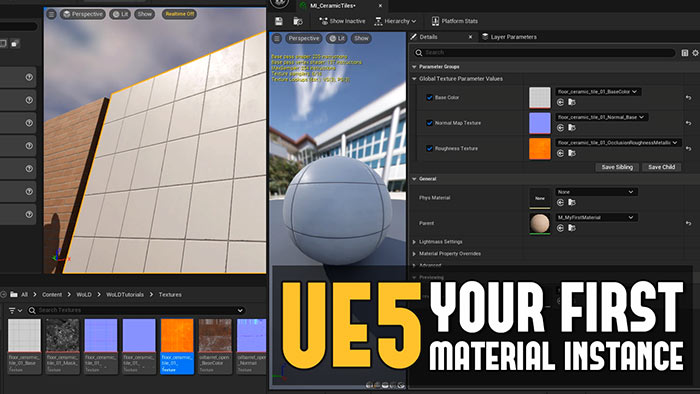
UE5: Creating Your First Material Instance and Changing Texture with It (Step-by-Step Guide)
Category: UE5
July 23, 2025
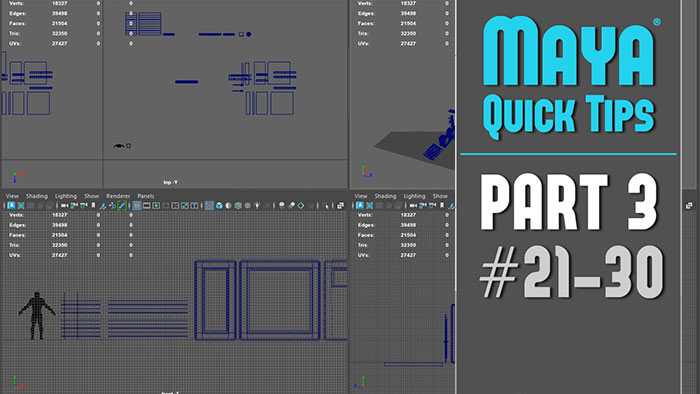
The following quick tips series is created for beginners and experts using Maya.
These are quick useful tips to help improve and show techniques you may have not known or forgotten about. All videos are very short, between 1-5 minutes.
The following Part 3 includes 10 quick tips:
- Tip #21: Fix UVs Disappear When Combining Objects
- Tip #22: Converting Edges to a Curve to Extrude and Create Complex Geometry
- Tip #23: Fix Viewport Grid Doesn't Show and Objects Disappear
- Tip #24: Renaming Multiple Objects at the Same Time
- Tip #25: Fix - Green Polygon Material Color on Faces
- Tip #26: Add Extra Edges Using Bevel for Modeling Detail While Preserving Your Mesh
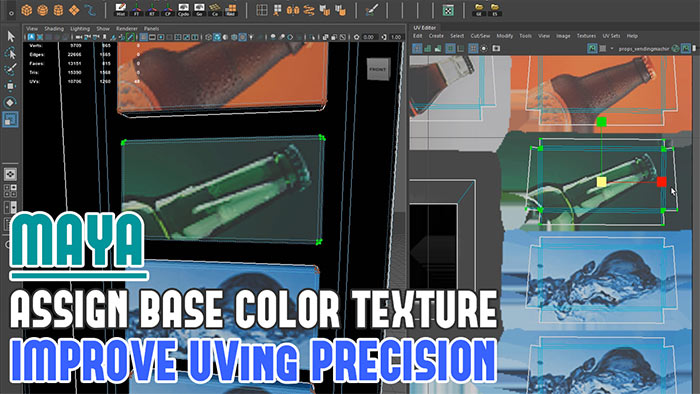
- Tip #27: Use One of These UV Grid Textures to Help and Improve UVing
- Tip #28: Vertices Geometry CleanUp - Merge and Target Weld Vertices to Center
- Tip #29: Fix Hidden Overlapping Vertices and Cleanup Your Meshes Quick (Merge Vertices)
- Tip #30: Make Textures Appear Beyond 0-1 UV Layout Space Inside UV Editor (Image Range)
UE5: Definitive Guide to Custom Collisions in Unreal Engine 5 for Static Meshes (UE5 and Maya)
Category: Maya, UE5
June 02, 2025
Environment Asset Pack: UE5 Modular Infinity Tiled Rooms and Pools Environment (FAB.com)
Category: News/Updates, UE5
April 25, 2025
Create your own infinity tiled interior environments (rooms and pools) where the layouts are only limited by your imagination. Create in the void.
This is a very easy-to-use modular UE5 environment asset pack of interior tiled rooms and pools.
It will allow you to create variety of interior liminal space layouts and change their visual look with 58 unique Static Meshes and 9 different Material Instances using UE5.
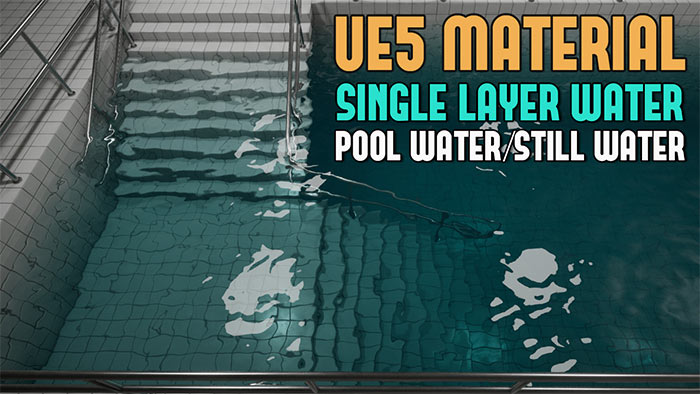
UE5: FIX Single Layer Water Material with Directional Light Blocky Hard Shadow Problem and Solution
Category: UE5
April 23, 2025
Complete Step-by-Step: Mastering Modular Railing Creation for Game Environments with Maya and UE5
Category: Maya, Environment Art, UE5
April 11, 2025
Ever wondered how to create game-ready modular railings that snap perfectly into your Unreal Engine 5 environments?
In this latest in-depth tutorial, I'm pulling back the curtain on the complete workflow to design a 6-piece modular railing set from scratch using Maya and UE5.
Whether you're a beginner or a seasoned 3D artist, this step-by-step guide is packed with tips to elevate your modular design creation!
WoLD Patreon Environment Assets - Compilation Part 1 (1-10 Ready to Use Environment Assets)
Category: News/Updates
April 07, 2025
Want to take your game environments and UE5 environments to the next level?
I've put together a collection of modular meshes, customizable materials and game-ready props on the WoLD Patreon and you'll want to see what's inside.
Think HL2-inspired crates, sci-fi steel beams and iconic ceramic tiles. Whether you're building industrial scenes or modern scenes, these assets bring detail and style with zero hassle.
This compilation includes 10-ready to use environment assets.
Maya: How to Create Quad Spheres and Capsules - The Better Choice for Modeling
Category: Maya
March 12, 2025
Speed Up Your Game Art: 11 Must-Have Template Scenes and Files for Rapid Prototyping
Category: Maya, Environment Art, UE5
February 28, 2025
Starting a new project scene is a tedious process. I hate it. Not the creative part, but the setup: folders, grid, lighting, mesh files, and more.
Instead, I've got templates ready to go, saving setup time so I can jump from idea to prototyping right away.
I've got 11 templates, files, scenes for you to start with and evolve from.
17 Maya Beginner Tutorials: Introduction to Learning and Using Maya in Just 4 Hours
Category: Maya, Environment Art
September 14, 2016 (Updated: February 25, 2025)
The following tutorial series is directly from Module 1 of 3 of "Maya Foundation: Home-Study Course" tutorial course.
I've released this entire Module 1 of 3 completely free. It is focused on teaching you how to get started learning Maya completely from scratch in 4 hours.
In this post you will find all 17 videos from Module 1. Learn to use Maya in just 4 hours.
Maya Beginner Tutorial Series 17/17: Creating and Using Display Layers
Category: Maya
February 24, 2025
The following tutorial series is directly from Module 1 of 3 of "Maya Foundation: Home-Study Course" tutorial course.
I've released this entire first Module completely free. It is focused on teaching you how to get started learning Maya completely from scratch in 4 hours.
Unclutter and organize your large scenes by creating and using Display Layers in Maya. Here is how...
Maya Beginner Tutorial Series 16/17: Create and Manage Custom Shelves
Category: Maya
February 21, 2025
The following tutorial series is directly from Module 1 of 3 of "Maya Foundation: Home-Study Course" tutorial course.
I've released this entire first Module completely free. It is focused on teaching you how to get started learning Maya completely from scratch in 4 hours.
Tool Shelves in Maya is a quick way to access some of the most commonly used tools. Having a custom shelf will speed up your work in Maya. Here is how to create and manage shelves in Maya.
The following tutorial series is directly from Module 1 of 3 of "Maya Foundation: Home-Study Course" tutorial course.
I've released this entire first Module completely free. It is focused on teaching you how to get started learning Maya completely from scratch in 4 hours.
As you model anything, Maya will begin to acquire object's construction history. These are all the steps you've done to an object being kept in memory.
Object Construction History will begin to increase Maya's file size, decrease scene calculation speed, slow down viewport rendering and increase the changes of the file becoming corrupted.
Unless you periodically Delete Construction History on that object. Here is how...
Maya Beginner Tutorial Series 14/17: Custom Polygon Display Options for Environment Modeling
Category: Maya
February 12, 2025
The following tutorial series is directly from Module 1 of 3 of "Maya Foundation: Home-Study Course" tutorial course.
I've released this entire first Module completely free. It is focused on teaching you how to get started learning Maya completely from scratch in 4 hours.
Custom Polygon Display will set visual preferences for how you want to view objects in Maya. Some of these options include backface culling, display normals, texture borders, open edge border and much more.
Many of these are very useful for environment modeling. Here are a few settings you need to know right now as you begin.
Maya Beginner Tutorial Series 13/17: Deleting Faces, Edges, Vertices and Making Better Selections
Category: Maya
February 10, 2025
The following tutorial series is directly from Module 1 of 3 of "Maya Foundation: Home-Study Course" tutorial course.
I've released this entire first Module completely free. It is focused on teaching you how to get started learning Maya completely from scratch in 4 hours.
Deleting vertices, edges and faces isn't as simple as pressing Delete. In this tutorial you will learn how to properly delete components to avoid geometry problems.
Maya Beginner Tutorial Series 12/17: Difference Between Triangles vs Quads vs NGons
Category: Maya
February 07, 2025
The following tutorial series is directly from Module 1 of 3 of "Maya Foundation: Home-Study Course" tutorial course.
I've released this entire first Module completely free. It is focused on teaching you how to get started learning Maya completely from scratch in 4 hours.
In this tutorial you will learn the difference between Triangles, Quads and NGons. Which geometry type you should work with and which to avoid when modeling environments and props.
Substance Painter: Create Custom Masks from Roughness Textures and Use it to Improve Your Materials
Category: Substance Painter
February 05, 2025
I will show you how to create a mask from Roughness texture to use in Substance Painter.
Doing this will help you adjust parts of the texture or material without affecting another part of a texture or material. This is especially important when you can't generate a mask from your existing setup yourself and have to create one manually.
You'll find yourself constantly in need of generating masks to control texturing your environments and props.
Maya Beginner Tutorial Series 11/17: How to Snap Geometry and Change Pivot Points
Category: Maya
February 03, 2025
The following tutorial series is directly from Module 1 of 3 of "Maya Foundation: Home-Study Course" tutorial course.
I've released this entire first Module completely free. It is focused on teaching you how to get started learning Maya completely from scratch in 4 hours.
In this tutorial will learn how to snap objects to the gird and to other objects as well as to how modify pivot points. Snapping and pivot points are probably the most important elements of environment modeling that aren't mentioned enough.
Maya Beginner Tutorial Series 10/17: Geometry Modeling Blockout Exercise for Environment Design
Category: Maya
January 31, 2025
The following tutorial series is directly from Module 1 of 3 of "Maya Foundation: Home-Study Course" tutorial course.
I've released this entire first Module completely free. It is focused on teaching you how to get started learning Maya completely from scratch in 4 hours.
In this tutorial you will go through a geometry blockout exercise to help you practice and integrate everything you've learned so far in Maya...
Maya Beginner Tutorial Series 9/17: Saving, Opening and Starting New Scenes
Category: Maya
January 29, 2025
The following tutorial series is directly from Module 1 of 3 of "Maya Foundation: Home-Study Course" tutorial course.
I've released this entire first Module completely free. It is focused on teaching you how to get started learning Maya completely from scratch in 4 hours.
In this tutorial you'll learn how to start, save and open scenes in Maya...
Maya Beginner Tutorial Series 8/17: Importance of Scale, Size, Dimensions, Setting Up Your Grid and HUD Display
Category: Maya
January 27, 2025
The following tutorial series is directly from Module 1 of 3 of "Maya Foundation: Home-Study Course" tutorial course.
I've released this entire first Module completely free. It is focused on teaching you how to get started learning Maya completely from scratch in 4 hours.
In this tutorial you'll learn important settings for Axis Orientation for Move, Rotate and Scale tools. Something often not talked about and the first thing beginner's get stuck with...
Let's Texture #3: Modular Steel Beam Stands and Supports for UE5 Using Substance Painter
Category: Substance Painter
January 21, 2025
Maya Beginner Tutorial Series 7/17: Axis Orientation and Important Tool Settings for Move, Rotate, Scale
Category: Maya
January 20, 2025
The following tutorial series is directly from Module 1 of 3 of "Maya Foundation: Home-Study Course" tutorial course.
I've released this entire first Module completely free. It is focused on teaching you how to get started learning Maya completely from scratch in 4 hours.
In this tutorial you'll learn important settings for Axis Orientation for Move, Rotate and Scale tools. Something often not talked about and the first thing beginner's get stuck with...
Maya Beginner Tutorial Series 6/17: Component Mode and How to Work with Polygon Vertices, Edges, Faces
Category: Maya
January 17, 2025
The following tutorial series is directly from Module 1 of 3 of "Maya Foundation: Home-Study Course" tutorial course.
I've released this entire first Module completely free. It is focused on teaching you how to get started learning Maya completely from scratch in 4 hours.
In this tutorial you will learn how to work with object's Component Mode. Be able to manipulate/change vertices, edges, faces and more...
Maya Beginner Tutorial Series 5/17: Geometry Modeling Basics and How to Work With Polygon Objects
Category: Maya
January 15, 2025
The following tutorial series is directly from Module 1 of 3 of "Maya Foundation: Home-Study Course" tutorial course.
I've released this entire first Module completely free. It is focused on teaching you how to get started learning Maya completely from scratch in 4 hours.
In this tutorial you will learn how to work with polygon objects in Maya to begin your modeling journey...
Maya Beginner Tutorial Series 4/17: Viewport View Options and How to Setup Viewports for Modeling
Category: Maya
January 13, 2025
The following tutorial series is directly from Module 1 of 3 of "Maya Foundation: Home-Study Course" tutorial course.
I've released this entire first Module completely free. It is focused on teaching you how to get started learning Maya completely from scratch in 4 hours.
In this tutorial we will cover various panel viewport toolbar options to improve modeling and working in Maya...
The following tutorial series is directly from Module 1 of 3 of "Maya Foundation: Home-Study Course" tutorial course.
I've released this entire first Module completely free. It is focused on teaching you how to get started learning Maya completely from scratch in 4 hours.
In this tutorial we will cover how to master viewport navigation in Maya...
Maya Beginner Tutorial Series 2/17: Interface Overview - Everything You Need to Know
Category: Maya
January 08, 2025
The following tutorial series is directly from Module 1 of 3 of "Maya Foundation: Home-Study Course" tutorial course.
I've released this entire first Module completely free. It is focused on teaching you how to get started learning Maya completely from scratch in 4 hours.
In this tutorial we will cover Maya interface and everything you need to know...
Maya Beginner Tutorial Series 1/17: First Time In Maya and How To Set Up Projects
Category: Maya
January 06, 2025
The following tutorial series is directly from Module 1 of 3 of "Maya Foundation: Home-Study Course" tutorial course.
I've released this entire first Module completely free. It is focused on teaching you how to get started learning Maya completely from scratch in 4 hours.
In this tutorial I will show you how to set up projects in Maya.
WoLD is Now on Patreon - Support WoLD and Get 3D Environment Assets and Props
Category: News/Updates
January 01, 2025
Welcome to World of Level Design Patreon!
As many of you know I've been creating and sharing 3d tutorials since 2008.
I have created a lot of environments, levels, props, textures and usable assets over the years but many of these never get to see the light of day.
I want to change that by sharing environment assets and props you can use to create with. This way at least you get to use them.
By joining and becoming a part of WoLD Patreon, you will continue to support WoLD work...
Home Terms of Use/Trademarks/Disclaimers Privacy Policy Donate About Contact
All content on this website is copyrighted ©2008-2024 World of Level Design LLC. All rights reserved.
Duplication and distribution is illegal and strictly prohibited.
World of Level Design LLC is an independent company. World of Level Design website, its tutorials and products are not endorsed, sponsored or approved by any mentioned companies on this website in any way. All content is based on my own personal experimentation, experience and opinion. World of Level Design™ and 11 Day Level Design™ are trademarks of AlexG.
Template powered by w3.css







 Modular Environment Design Masterclass Tutorial Course
 Maya Foundation: Home-Study Course - Model and UV Environments
 Substance 3D Painter Essentials - Master Texturing
 UE5: Fundamentals Vol.1 - Create with Unreal Engine 5
 UE5: Retro Office Project - Create Beautiful Interior Env
 UE5: Master Material Creation - Create Master Materials in UE5
 Preproduction Blueprint: Plan Environments and Level Designs
