World of Level Design™
Tutorials to Becoming the Best Level Designer and Game Environment Artist (since 2008)
Modular Asset Design for Interiors & Exteriors of a Building, House or Room at Same Time
Category: Environment Art, Maya, UE5
December 15, 2025
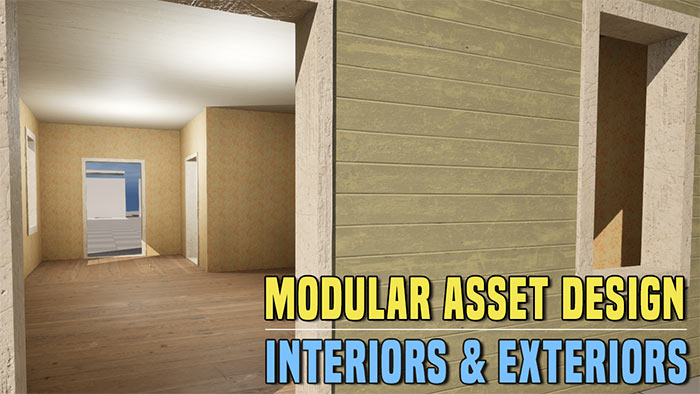
In this tutorial I will show how to create modular assets that can contain both interior and exterior appearances at the same time. Perfect for buildings, houses or rooms requiring seamless transitions from outside to inside and vice versa.
I'll cover 2 approaches:
- Single-plane geometry (invisible on the back side).
- Solid-box geometry (visible from all sides).
Both methods will allow for specific interior and exterior looks. You can use one method or the other or you can combine both.
Video Tutorial
Modular Geometry: Flat Planes vs Solid Boxes
Make sure to check out previous tutorial on whether you should use flat planes or solid boxes as your modular geometry.
Flat Planes vs. Solid Boxes: Choosing the Right Modular Geometry for Environment Design and for UE5.
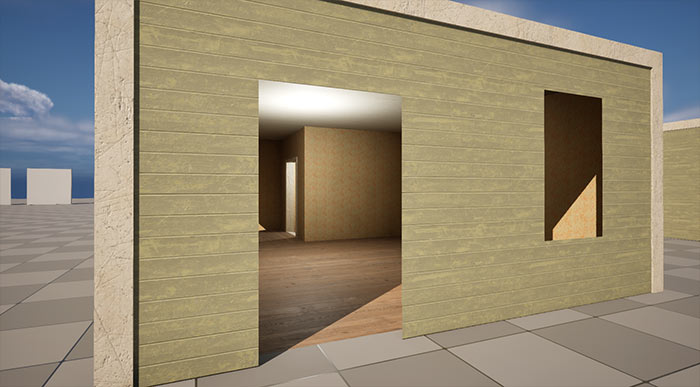
Scene Overview
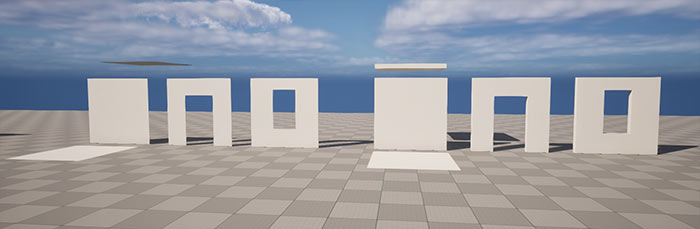
I have a set of assets that I'll be using as an example: doorway, window, wall, ceiling and floor.
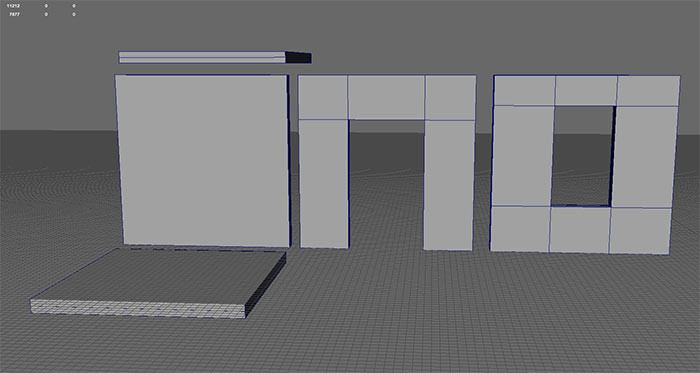
There are 2 variants per asset: single-plane (backface removed) on left and solid-box (full thickness, all faces rendered) on right.
Method 1: Single-Plane Modular Geometry
The simplest approach uses flat modular planes with backface removed.
To have interior and exterior geometry, you'd simply duplicate the flat plane, rotate it and then apply a different material on the duplicated mesh.

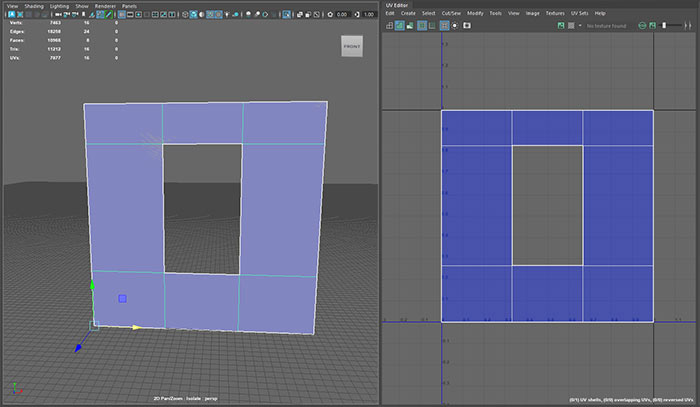
UV Setup in Maya
The way I unwrapped the UVs is to make use of tiling textures. So most of the larger geometry faces are placed to fit into full 0-1 UV space.
The way you UV these assets will of course depend on your geometry and workflow you've decided to use.
For this example I used tiling textures approach.
UE5 Implementation
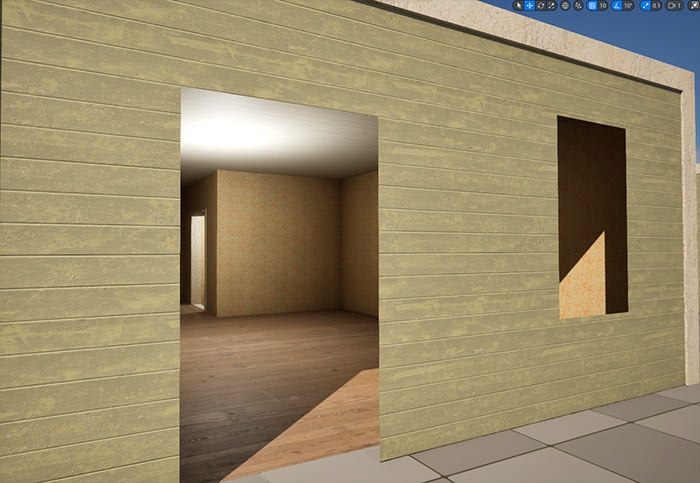
In UE5, duplicate the flat modular plane, rotate 180°, and align for the other side.
Apply exterior material to one mesh and interior material to the other. You can of course use Material Instances as well.
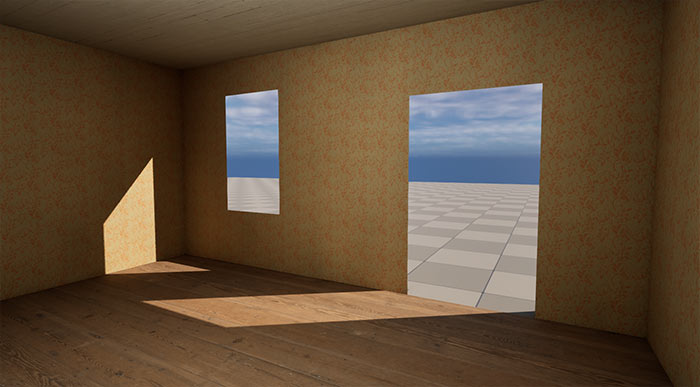
You will now have 2 Static Meshes that will display interior and exterior of a building or a room.
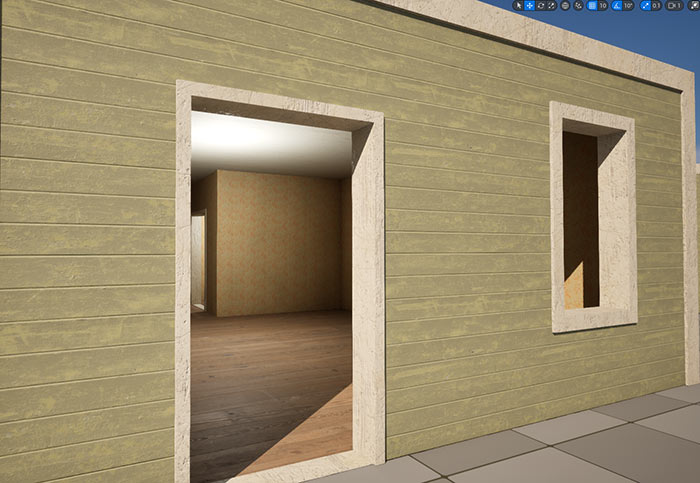
To handle the gaps between walls, add separate frame meshes (e.g., window/door frames) to hide edges where planes meet.
For ceiling and floor, you would do the same thing by instead using different Materials or Material Instances.
Pros/Cons with Single Plane Modular Meshes Method
- Pros: Low vertex count; one Material per mesh.
- Cons: Potential light leaking; requires duplicates and gap-hiding meshes.
Method 2: Solid-Box Modular Geometry
Although solid boxes is my preferred method for modular geometry, it comes at a downsides of using multiple Material slots for interiors and exteriors on same Static Mesh but there are some workarounds.
Modeling in Maya
Using a simple wall, window or doorway example, insert a central edge loop to split the mesh in half (front/back + sides).
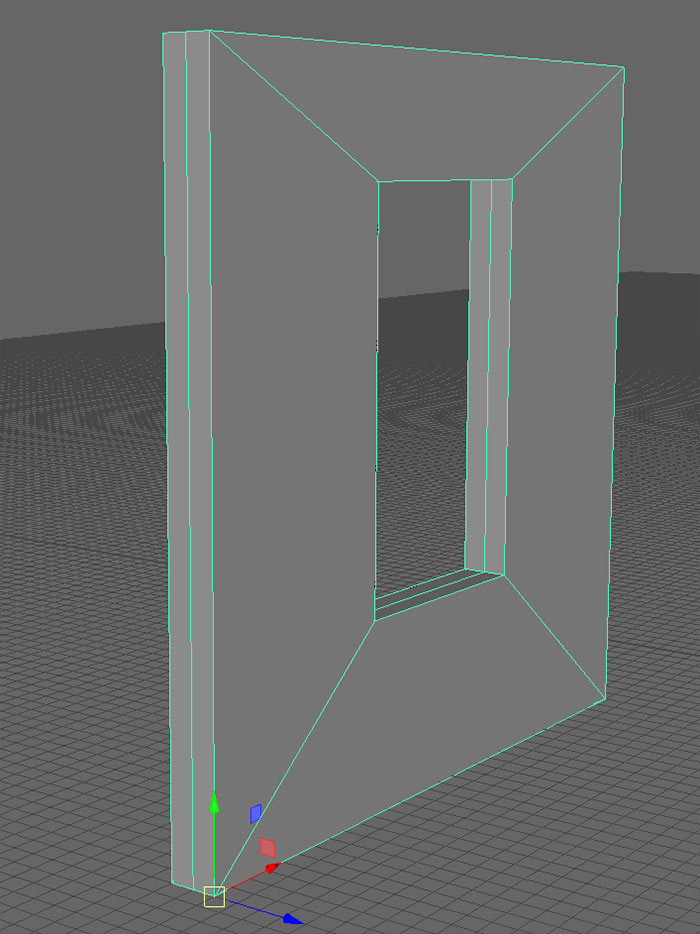
Select front half faces (including sides) and assign Lambert1 Material (left) and then select back half faces and assign Lambert2 Material (right).

Repeat for all assets (walls, doors, windows, ceilings, floors).
UV Setup in Maya
UVs are setup similar to flat modular planes. Utilizing tilign textures and placing UV shells to occupy and fit the entire 0-1 UV space.
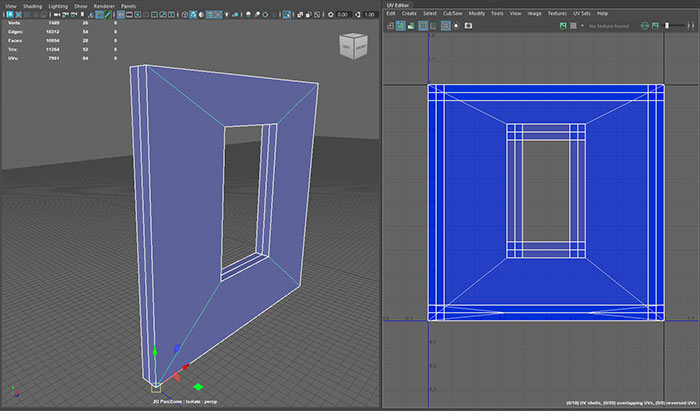
Again, this will be different for you depending on the asset geometry and how you decide to UV.
But because each half of the mesh will receive a different material, I treat UVing the front of the mesh and back of the mesh separately. Although inside the UV editor they will be overlapping each other.
For side/top/bottom faces you can either:
- Overlap them with the rest of the UV shells inside 0-1 space.
- Shrink these UV shells down and place them somewhere inside 0-1 space (if these faces are not going to be seen by the player).
UE5 Implementation
Static Meshes that have 2 or more Materials applied in Maya will now have multiple Material slots in UE5.
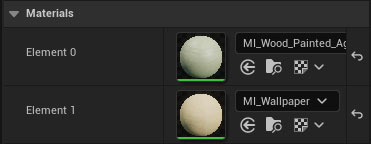
Drag a Material or Material Instance on front part of the mesh and another on the back part of the mesh.
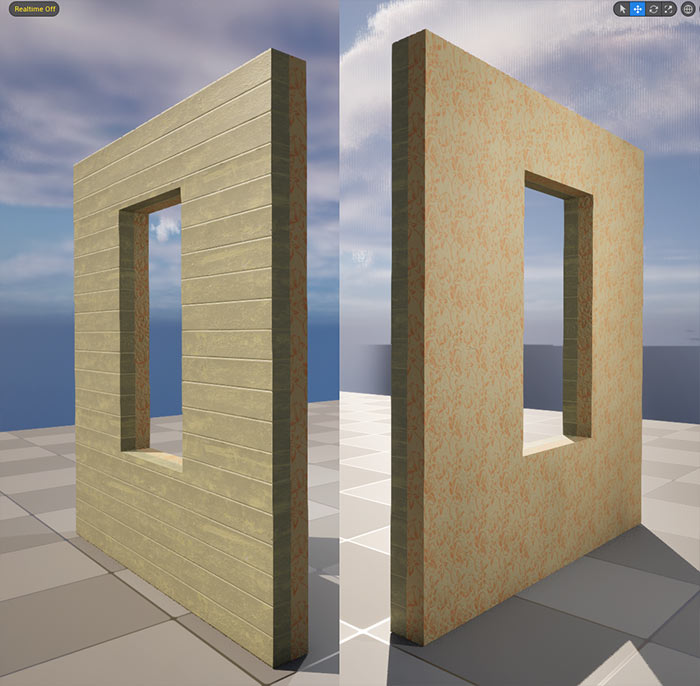
You now have two different visual parts of the same mesh, one for exterior and one for interior.
If you need to have the same Material or Material Instance on both sides of the mesh, simply drag the one you want to use onto the other side.
Downside: biggest disadvantage of this method is an extra draw call for the 2nd Material slot. Even if it's using the same Material, Material Instance or nothing at all.
Optimization Tip: you could crreate a single-slot variation of the Static Mesh for interior-only walls (same material both sides) to save draw calls. Or use single-plane modular method.
Use the same approach for ceilings and floors. Assign one Material or Instance to one half of the mesh and another for the other half of the mesh.
Modular Environment Design Masterclass
For the complete pipeline including modeling, UVs, trim sheets, texturing in Substance Painter and full UE5 assembly, get "Modular Environment Design Masterclass" tutorial course. It is the step-by-step course that covers everything from Maya to polished UE5 modular environment scenes.

SUBSCRIBE & GET FREE, UPDATED PDF GUIDE
Subscribe to receive FREE & Updated "Maya 3D Primer" PDF Guide (200+ pages).

See more about this Free PDF Guides and what you are subscribing to.
TOP 7 TUTORIAL COURSES FOR 2026
 Modular Environment Design Masterclass Tutorial Course
 Maya Foundation: Home-Study Course - Model and UV Environments
 Substance 3D Painter Essentials - Master Texturing
 UE5: Fundamentals Vol.1 - Create with Unreal Engine 5
 UE5: Retro Office Project - Create Beautiful Interior Env
 UE5: Master Material Creation - Create Master Materials in UE5
 Preproduction Blueprint: Plan Environments and Level Designs
TUTORIAL CATEGORIES
MAYA FOUNDATION COURSE

MODULAR ENVIRONMENTS MASTERCLASS

UE5: RETRO OFFICE PROJECT

SUBSTANCE PAINTER ESSENTIALS

UE5 FUNDAMENTALS VOL.1 COURSE

EVERYTHING I KNOW ABOUT PLANNING

ABOUT WoLD & ALEXG

My name is AlexG. I am self-taught level designer, game environment artist and the creator of World of Level Design.com. I've learned everything I know from personal experimentation and decades of being around various online communities of fellow environment artist and level designers. On World of Level Design you will find tutorials to make you become the best level designer and game environment artist.
Home Terms of Use/Trademarks/Disclaimers Privacy Policy Donate About Contact
All content on this website is copyrighted ©2008-2024 World of Level Design LLC. All rights reserved.
Duplication and distribution is illegal and strictly prohibited.
World of Level Design LLC is an independent company. World of Level Design website, its tutorials and products are not endorsed, sponsored or approved by any mentioned companies on this website in any way. All content is based on my own personal experimentation, experience and opinion. World of Level Design™ and 11 Day Level Design™ are trademarks of AlexG.
Template powered by w3.css