World of Level Design™
Tutorials to Becoming the Best Level Designer and Game Environment Artist (since 2008)
UDK tutorial series. In the following set of tutorials we will begin to cover how to create a simple room and simple environment from start to finish.
First three parts of many we will begin with BSP Brushes. Blocking in our simple room environment and quickly testing in game.
In the following tutorial, you will learn:
- How to use the red builder brush, resize it and manipulate it
- How to add and subtract brushes
- How to add a human reference scale so you build your maps to scale
- Geometry Tool Mode
- Many shortcuts and tips
- Video and full notes for quick access are below
If you are completely new to UDK, start with these three tutorials. They will help you to catch up and then come back here and continue with BSP brushes and the rest of the tutorials.
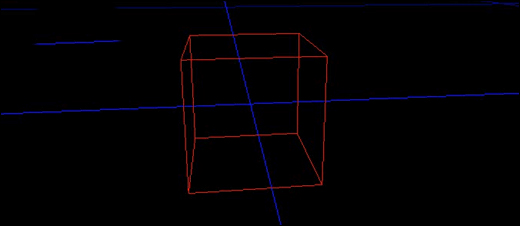
WHAT IS THE RED BUILDER BRUSH?
Red builder brush is the template out of which bsp brushes are created inside UDK. Red builder brush doesn't show up in game, and it is simple where additive, subtractive and other volumes could be created from.
I say could be, because until you add something where the red builder brush is, it simply is a place holder for a future brush or volume.
Shortcut: B = hide on/off red builder brush
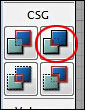
BRUSHES
Various brushes are available to create BSP geometry. Left Mouse Click on any of the icons and this will update the red builder brush. This will not create bsp geometry just yet. But it will set the template to create the brush from it.
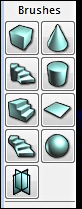
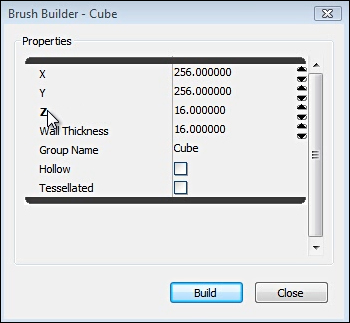
Right Mouse Click on any of the icons, will bring up the properties box. Here you are able to change values and how each brush looks.
ADDING BSP BRUSHES TO YOUR LEVEL
Once you have a template positioned, sized and scaled. You can then add the brush to your level.
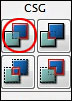
Shortcut: CSG Add = Ctrl+A
Added brush.

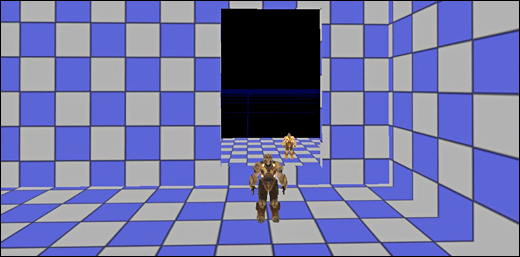
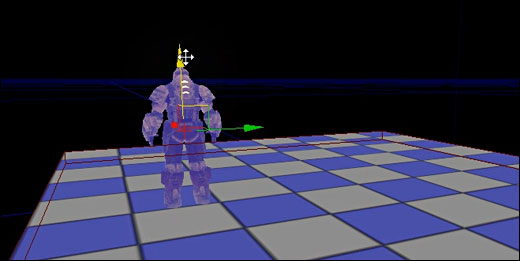
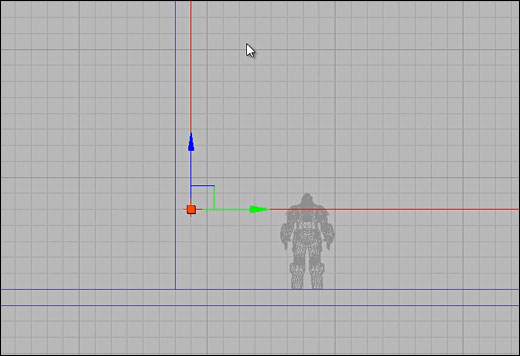
PLACING HUMAN REFERENCE SCALE
Character height in UDK is 96 units tall.
Placing a reference where you can judge how large your environment is, will help you to keep your level on scale.
Open the Content Browser and place a Skeletal Mesh into your level. This will be your human reference scale.
Click All Assets and type in search: SkeletalMesh.
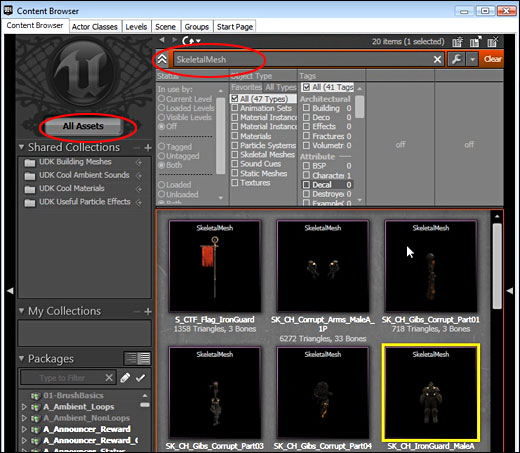
Place it in your level by Left Mouse Click and Drag into your scene.
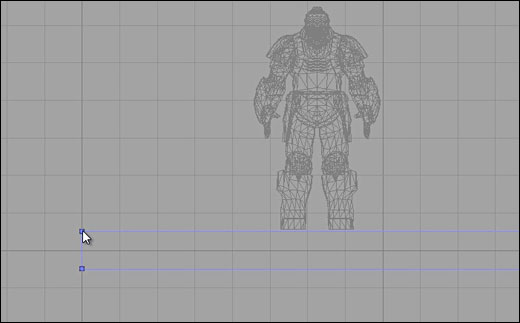
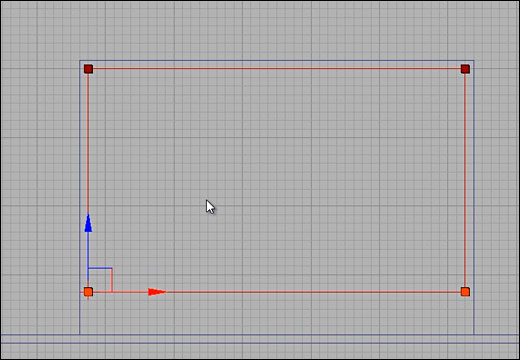
HOW TO GET YOUR BSP BRUSH BACK ON THE GRID
If you have a bsp brush off the grid, there is a very simple solution to get it back on the grid.
Right Mouse Click on single vertex of the brush and it will snap to the grid spacing.
HOW TO RESIZE BSP BRUSHES WITH GEOMETRY TOOL MODE
Instead of using brush properties to size the scale of your brushes, there is a quick and more efficient way of doing so.
Geometry Tool Mode:

Select the brush and click on Geometry Tool Mode. Here you will be able to resize the brush faces and vertices much easier.
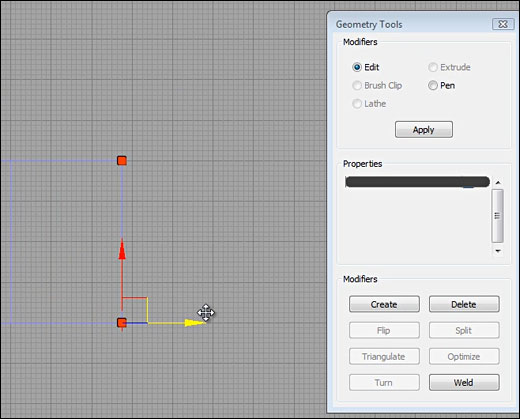
You can also move each face of the brush. In perspective view, you are able to select a face on the brush while in Geometry Mode.

REBUILD GEOMETRY TO SEE CHANGES IN BSP BRUSHES
If you used Geometry Tool Mode to resize your bsp geometry, you will not see the changes in perspective viewport in lit/unlit mode.
That is because anytime you change your bsp brushes, dupliate them or move them, you need to Build Geometry to see the changes.
Top tool bar, click on Build Geometry for Visible Levels.

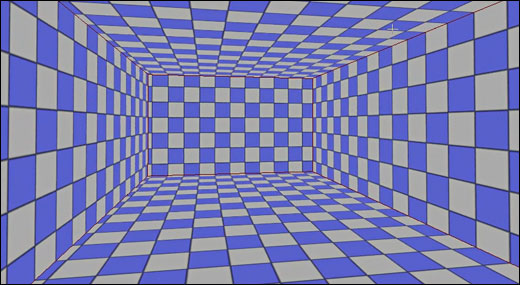
SUBTRACTING GEOMETRY FROM BRUSHES
You can subtract geometry from additive brushes in your level. This offers a quick way to block in your environment and carve interiors out.
Remember, subtracting only works if you subtract from additive geometry; already added brushes.
Use the red builder brush, position the brush inside additive brush.
Once you have a template positioned, sized and scaled. You can then subtract the brush from additive brush.
Shortcut: CSG Subtract = Ctrl+S
Subtracted brush:
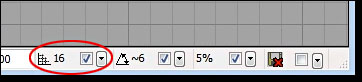
IMPORTANCE OF STAYING ON THE GRID
I can't stress enough how important it is to stay on the grid. This will make your job a lot easier down the road.
Make sure you have grid snaps turned on, and you are using large enough grid spacing during the block in stages.
You will find the options on the bottom right of UDK interface.
Here are the brushes on the grid, snapped. Nice and clean.

SUBSCRIBE & GET FREE UE5 PDF GUIDE
Subscribe to receive NEW/UPDATED and FREE "UE5 Beginner's Quick Start Guide" PDF (90 pages).

Visit this page for more info about the guide...
TOP 7 TUTORIAL COURSES FOR 2026
 Modular Environment Design Masterclass Tutorial Course
 Maya Foundation: Home-Study Course - Model and UV Environments
 Substance 3D Painter Essentials - Master Texturing
 UE5: Fundamentals Vol.1 - Create with Unreal Engine 5
 UE5: Retro Office Project - Create Beautiful Interior Env
 UE5: Master Material Creation - Create Master Materials in UE5
 Preproduction Blueprint: Plan Environments and Level Designs
TUTORIAL CATEGORIES
UE5 FUNDAMENTALS VOL.1 COURSE

UE5: RETRO OFFICE PROJECT

MODULAR ENVIRONMENTS MASTERCLASS

LEARN THE PREPRODUCTION PROCESS

ABOUT WoLD & ALEXG

My name is AlexG. I am self-taught level designer, game environment artist and the creator of World of Level Design.com. I've learned everything I know from personal experimentation and decades of being around various online communities of fellow environment artist and level designers. On World of Level Design you will find tutorials to make you become the best level designer and game environment artist.
Home Terms of Use/Trademarks/Disclaimers Privacy Policy Donate About Contact
All content on this website is copyrighted ©2008-2024 World of Level Design LLC. All rights reserved.
Duplication and distribution is illegal and strictly prohibited.
World of Level Design LLC is an independent company. World of Level Design website, its tutorials and products are not endorsed, sponsored or approved by any mentioned companies on this website in any way. All content is based on my own personal experimentation, experience and opinion. World of Level Design™ and 11 Day Level Design™ are trademarks of AlexG.
Template powered by w3.css