World of Level Design™
Tutorials to Becoming the Best Level Designer and Game Environment Artist (since 2008)
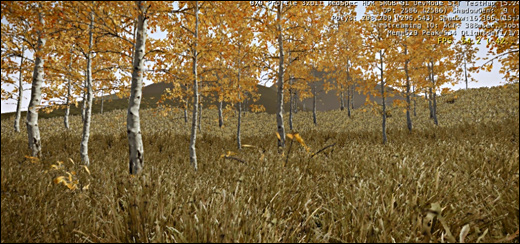
We continue with CryEngine 3 SDK tutorials. If you are just starting to learn and use CryEngine 3 SDK, start here.
In this tutorial we cover how to insert/place objects/models into your map.
Topics covered:
- Setting up vegetation and creating vegetation categories
- How to paint vegetation
- Vegetation properties
- How to set up and paint proper grass
- Database View for vegetation
SET UP VEGETATION
To paint proper vegetation/foliage in CryEngine you first need to set it up.
To set up and paint vegetation go to RollupBar --> Vegetation
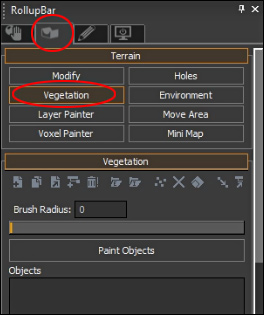
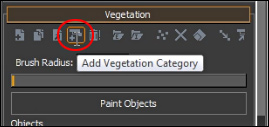
Create a new vegetation category by clicking on Add Vegetation Category:
Name the vegetation category:
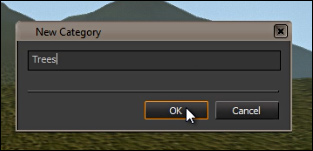
Once you named the category you will find it in the RolupBar in Vegetation properties menu.
Now we can add individual trees to the new category. Right Click on the category and choose Add Object.

Window will pop up. Here you can go through all default objects that come standard with CryEngine 3 SDK.
Navigate to any of the folders inside game/objects/natural/vegetation. Choose any foliage you want to place. To select multiple trees, hold down Ctrl to add to a selection.

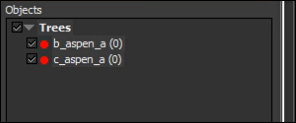
After you have added few trees, this is what it will look like.
PROPERTIES
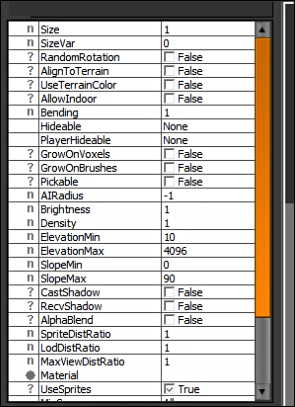
Select individual category above to access Vegetation properties for that object.
Here you have variety of important settings before you paint.
Important ones to set are:
Size: size of foliage, scale
SizeVar: variety of sizes
RandomRotation: randomly rotates foliage, gives variety
Bending: acts as wind, bends foliage to have life as if it were affected by wind
Density: how dense your foliage is placed next to each other in meters. Set this anywhere between 10-50m
Elevation Min/Max: at what elevation range do you want to paint foliage at?
Slope Min/Max: at what degree of slope do you want foliage to painted at?
PAINTING VEGETATION
We are now ready to paint vegetation.
- Click on Paint Objects
- Choose Brush Radius
- Choose the entire Trees Category or individual Tree Layer to paint
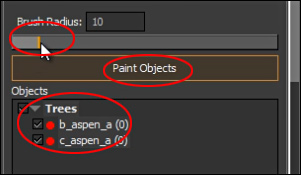
Left Click to Paint vegetation
Ctrl + Left Click to erase the painted vegetation
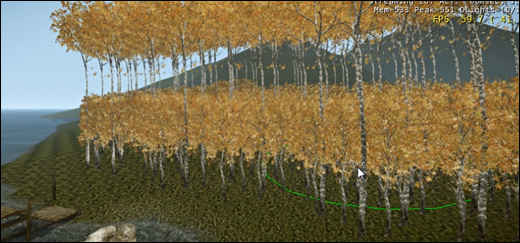
PLACING VEGETATION ON TERRAIN LAYERS
Very quick way to place vegetation across your entire terrain is to set Use On Terrain Layers option.
Be careful of using this, this may cause performance issues making your map un-optimized.
Recommended to use it on placing grass.

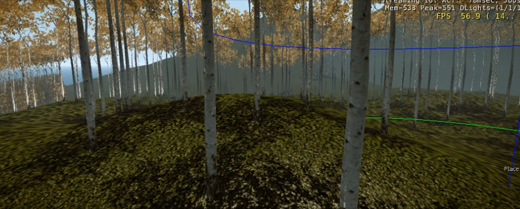
INDIVIDUALLY PLACING FOLIAGE
While in vegetation painting you may place individual tree vegetation, instead of painting them. This offers greater control of placing individual tree objects exactly where you want them.
First, make sure to deselect Paint Objects.
Select the Tree Layer you want.
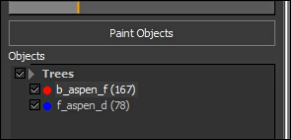
- Hold down Shift + Left Click to place
- Hold down Alt + Mouse Drag to scale
- Hold down Alt + Ctrl + Mouse Drag to rotate

SETTING UP AND PLACING GRASS
To set up grass is identical as to setting up vegetation.
Add Vegetation Category and Add Objects as in previous steps.
We do have few extra controls that we want to know about to make grass look and act more realistically.
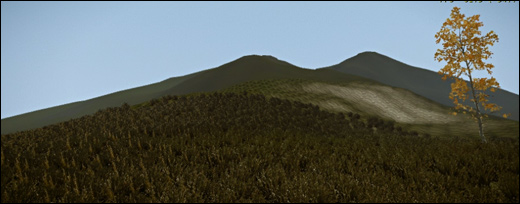
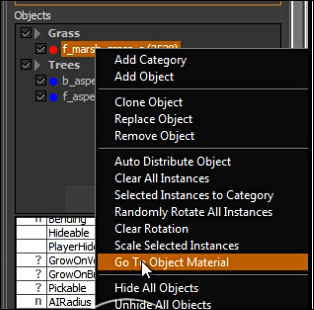
After you have set up grass as a category and added an object/model for the grass, Right Click on the grass object and choose Go To Object Material:
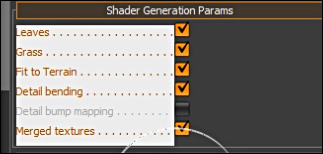
Material Editor will open. First notice that Shader is set to Vegetation and Surface Type is set to grass.

Open up Shader Generation Params and uncheck/check some options and see what that does to the grass.
I checked the following: Leaves, Grass, Fit to Terrain, Detail Bending, Merged Textures.
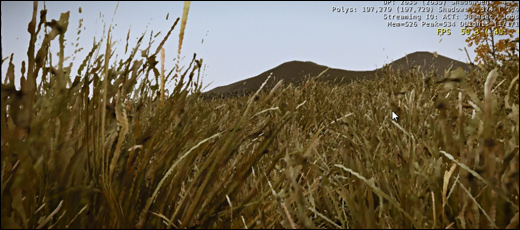
Final look of the grass:
DATABASE VIEW BROWSER
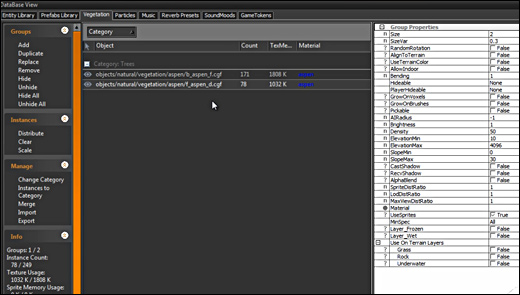
Database View allows to see what vegetation you have placed in your map and to set properties a lot more easier.
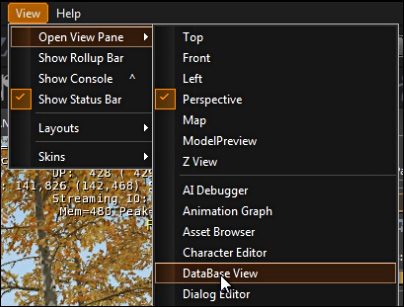
To open Database View go to View --> Open View Pane --> DataBase View:
Click on the Vegetation tab, third tab up above in Database View.
Home Terms of Use/Trademarks/Disclaimers Privacy Policy Donate About Contact
All content on this website is copyrighted ©2008-2024 World of Level Design LLC. All rights reserved.
Duplication and distribution is illegal and strictly prohibited.
World of Level Design LLC is an independent company. World of Level Design website, its tutorials and products are not endorsed, sponsored or approved by any mentioned companies on this website in any way. All content is based on my own personal experimentation, experience and opinion. World of Level Design™ and 11 Day Level Design™ are trademarks of AlexG.
Template powered by w3.css


 Maya Foundation: Home-Study Course - Model and UV Environments
 Substance 3D Painter Essentials - Master Texturing
 UE5: Fundamentals Vol.1 - Create with Unreal Engine 5
 UE5: Retro Office Project - Create Beautiful Interior Env
 UE5: Master Material Creation - Create Master Materials in UE5
