World of Level Design™
Tutorials to Becoming the Best Level Designer and Game Environment Artist (since 2008)
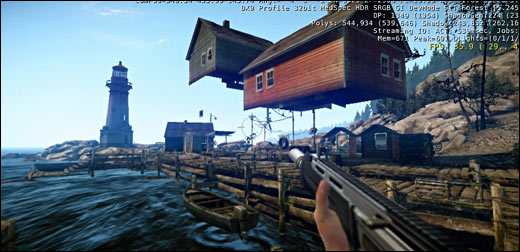
We continue with CryEngine 3 SDK tutorials. If you are just starting to learn and use CryEngine 3 SDK, start here.
In this tutorial we cover how to navigate around CryEngine, interface functions to get started and viewport configurations. After this tutorial you'll be ready to start creating your first map. Which what we will do in the next tutorial.
Topics covered:
- Navigate around CryEngine 3
- Interface overview
- Viewport configuration
NAVIGATION
WASD keys will move you forward/back/side. Just like as if you were playing any fps game on a pc.
Middle Mouse Button Hold/Drag = Pan
Right Mouse Button Hold/Drag = Look Around
Scroll Wheel = Zoom in/out
HELPERS
Shift + Spacebar = on/off helpers
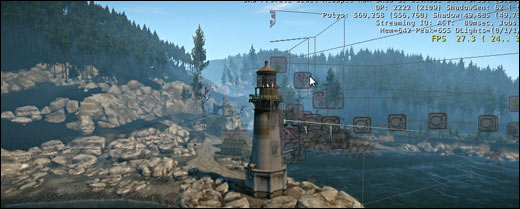
CAMERA SPEED MOVEMENT
Speed up how fast your camera moves within perspective viewport by changing the speed values on the bottom of perspective viewport panel.

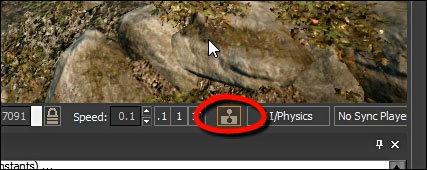
TERRAIN COLLISION
Terrain collision function enables you to fly-around without going through the terrain.
This can be found on the bottom of perspective viewport panel next to Camera Movement Speed.
You can turn this on/off.
VIEWPORT OPTIONS
To access viewport options Right Click on the upper tab in the perspective viewport for drop down menu.
Here you can switch to various viewport options and/or Configure Layout.
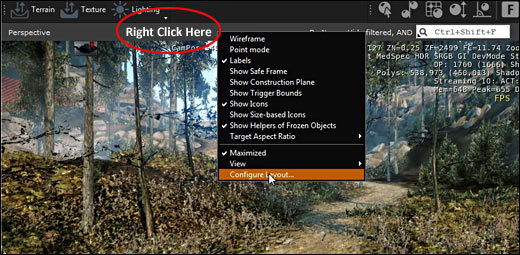
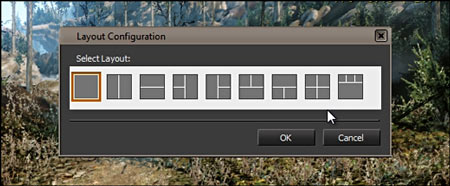
Choose Configure Layout will give you options of how you want your viewport to display.
I stick with Perspective only, but sometimes for specific functions I choose to have orthographic viewports.
You can also open up various other windows within the perspective viewport that are used in CryEngine world creation. By going under View.
We will cover many of these in later tutorials when we need to use them.

CYCLE THROUGH VIEWPORTS
You can cycle through viewports by pressing Ctrl+Tab.
Ctrl+Tab = cycle viewports
ROLLUP BAR
Rollup Bar is very important part of CryEngine. You will be using this a lot.
It includes Terrain, Object, Display and Layer tabs.

We will cover Terrain and Objects in later tutorials. For now we will focus on Display and Layers.
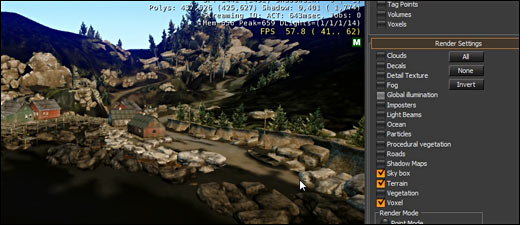
Display Tab in the Rollup Bar allows you to turn on some predefined render settings within the engine.

Turning some of the Render Settings allows to clear up the scene to work on certain elements within the map.
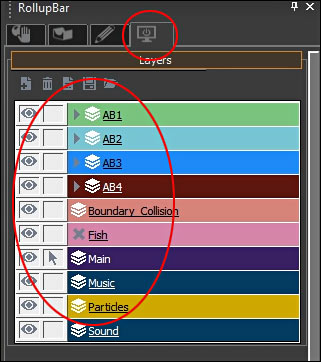
Layers Tab allows the user, the designer to control what will be seen and/or selectable. You can create your own layers and place objects on those layers. This helps to organize large scenes that you will create.
IN GAME SPAWN
To spawn inside the game and run around the world from the editor, press Ctrl+G.
Ctrl + G = in game spawn

Home Terms of Use/Trademarks/Disclaimers Privacy Policy Donate About Contact
All content on this website is copyrighted ©2008-2024 World of Level Design LLC. All rights reserved.
Duplication and distribution is illegal and strictly prohibited.
World of Level Design LLC is an independent company. World of Level Design website, its tutorials and products are not endorsed, sponsored or approved by any mentioned companies on this website in any way. All content is based on my own personal experimentation, experience and opinion. World of Level Design™ and 11 Day Level Design™ are trademarks of AlexG.
Template powered by w3.css


 Maya Foundation: Home-Study Course - Model and UV Environments
 Substance 3D Painter Essentials - Master Texturing
 UE5: Fundamentals Vol.1 - Create with Unreal Engine 5
 UE5: Retro Office Project - Create Beautiful Interior Env
 UE5: Master Material Creation - Create Master Materials in UE5
